Getting Started
Package requirements
To create projects that use WebView2, your projects must include both the WinNativeForms package and the WebView2 package in your projects.
Both of these packages can be added through the Project > References menu option, which opens Project Settings at its Library References, and the Available Packages tab. Ensure both packages are ticked, and then apply the changes and restart the compiler.


Once you’ve added the package references, you should find that the WebView2 control is now available to you in the form designer:
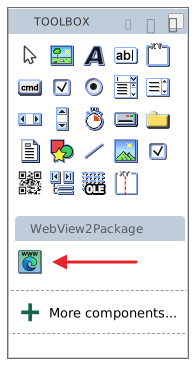
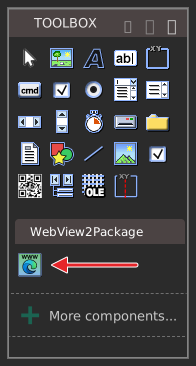
Create a WebView2 control on a form
We use the WebView2 control just like any ordinary control:

WebView2 control properties
There are lots of WebView2 properties and events to experiment with. The control’s own properties are in the GENERAL group of the PROPERTIES panel:


For what each property does, see the WebView2 control class; for the underlying browser feature, try searching the official WebView2 documentation
Samples
If you prefer to start with a sample, have a look at Sample 1a. WebView2 Examples, available in the new-project dialog:

